Monday, November 27, 2023

AWH Heart of Christmas Week 17 - Joy of Christmas Designer Series Paper


It's the last week of the Art with Heart, Heart of Christmas blog hop, I have not participated as much as I would have liked but wow these last few months have just flown by.

Welcome to the hop or you may have come from Tina Gillespie.

I have a very easy fun fold card for you today, not sure if it has a name, please let me know if it does.  

You score your A5 piece of cardstock in half and then score at 1 1/2" from left hand side and fold this back toward the centre fold.  

I have then cut 3 pieces of the gorgeous Joy of Christmas Designer Series Paper. 
  • Red piece measures 1 1/4" x 5 11/16", 
  • Green leaves piece measures 2 1/2" x 5 11/16" 
  • Green holly leaves and berries measure 1 3/4" x 5 11/16".
Adhere the panels of DSP to the card as featured in the below photographs and then I stamped a sentiment in Real Red and then surrounded it with a Mossy Meadow border from Heartfelt Hexagon and punched it out with the matching punch.  To add a little detail I then stamped the holly leaves from Christmas Classics in Black Memento and coloured them in the Light and Dark shades of Old Olive Blends.  

Finally, I added a Real Red Happy New Year stamp in the inside of the card from Brightest Glow.

Stamp Set:  Hope & Peace, Christmas Classics, Heartfelt Hexagon, Brightest Glow
Cardstock:  Thick Basic White, Basic White, Joy of Christmas Designer Series Paper
Ink:  Real Red, Black Memento, Mossy Meadow, Old Olive
Accessories:  Hexagon Punch, Cut 'n Emboss Machine, Christmas Classics Die


Thanks for stopping by and now it's time to see what Michele Taylor has created.


If the next button link is now working or you'd like to see the entire list of participants please go to Sharon Davern's blog.

Sunday, November 26, 2023

CASEing the Catty - #CTC447 Case a Kit Card/Project from Either Catalogue Rustic Christmas Countdown Kit


This week at CASEing the Catty we are caseing a Kit Card/Project from either the Mini or Annual Catalogue.

Welcome to the blog hop or you may have come from Peta Stephen.

It's getting closer to time to write in my 100+ Christmas Cards and I needed to top up my cards on my day off during the week and the Rustic Christmas Countdown Kit is just the project.  You can make 25 or more cards in really quick time. 

I started with some note cards and envelopes and then used the envelope from the kit to create a background and made them a little longer by folding the scalloped flap higher or I cut the scallop off and then adhered it on top with demensionals. 

It was then just using a collection of sentiments from various stamp sets to add to the cards and to cover up some of the countdown numbers with Basic White Cardstock and some Cherry Cobbler ink.

I used the instruction sheet as my guide in placement and then just added the red sequin embellishments and twine in a bow that is included in the kit.

Stamp Sets:  Hope & Peace, Christmas Classics, Brightest Glow
Accessories:  Rustic Christmas Countdown Kit, 1 3/4" Circle Punch


Thanks for stopping by this week and now it's time to see what Rebecca Scurr has created.


Sunday, November 19, 2023

CASEing the Catty - #CTC446 Case a Punch Project from the Mini Catalogue Bee My Valentine


This week at CASEing the Catty we are caseing a punch project from the Mini Catalogue.

Welcome to the blog hop or you may have come from Judy May.

As a Stampin' Up! Demonstrator last weekend we had an online event Onstage At Home and as part of this were able to pre purchase the Bee Mine Suite from the upcoming Mini Catalogue which will be release in early January.

I have choose to CASE the card on page 52 of the Mini Catalogue which I have used the layout as my inspiration this week.

I stamped the honey comb as a background with Real Red as tone on tone and split the Pebbled Path Jute Trim into 3 strands and wrapped this around the layer before adhering it the base with the trusty dimensionals. 

It was then time to cut out the Countryside Corners die with Basic White and stamp the sentiment in Black Memento.  The fun time was stamping the oh so cute bees bodies and wings in Black Memento and then two step stamping the Daffodil Delight bodies and it was so easy to use the punch to cut them out and a little Real Red heart in the middle.  

Today Tip:  I did not add the antenna's to these bees but it you do, you can use the heart punch to cut them out, so much better that fussy cutting.

Finally, it was finished with a Pebbled Path Trim bow and some of the gorgeous Hearts & Flowers embellishments.

Stamp Set:  Bee My Valentine
Cardstock:  Real Red, Basic White
Ink:  Daffodil Delight, Real Red, Black Memento
Accessories:  Bee Punch, Pebbled Path Jute Trim, Countryside Corners Dies, Adhesive-Backed Hearts & Flowers 


Inside the Card


Thanks for stopping by, now it's time to see what Julia Quinn created this week.


Monday, November 13, 2023

AWH Heart of Christmas Week 15 - Labels Aglow Dies


Christmas is slowly creeping up on us and today I am sharing a couple of cards for the Art with Heart Team Heart of Christmas Blog Hop.

Welcome to the hop or you may have come from Caroline Manwaring.

The two Christmas cards are using the carryover dies from last season - Labels Aglow Dies.  Both cards feature Real Red with either Basic White or Very Vanilla.  I love the dies that create the little circle features and shows the striking colour through the tiny dots.  They are quick and simple with just a sentiment and a little Real Red Ribbon.

Stamp Set:  Brightest Glow
Cardstock:  Real Red, Basic White, Very Vanilla
Ink:  Real Red, Versamark
Accessories:  Cut 'n Emboss Machine, Labels Aglow Dies, Heat Embossing Tool, White Embossing Powder, Real Red 3/8" Ribbon


Thanks for stopping by, now it's time to what Rosa Leyden has created.


If the next button link is not working or you'd like to see the entire list of participants please go to Sharon Davern's blog.

Sunday, October 29, 2023

Stampin' Up! Leadership Award


This week Stampin' Up! announced the Annual Achievements which will be celebrated at OnStage@Home on Saturday, 11 November. 

I was luckily to receive the Leadership - Level 1 during the 2022–2023 Stampin’ Up! year!  

Thanks to my team members - Andrea, Caroline, Carlene, Lauren and Kat for your support of Kathryn's Creative Crew.

It's not too late to join my team by the end of the month as with the below amazing promotion.


Join Stampin' Up! and Get 35% Off or 35% More

Stampin' Up! want to celebrate our 35th anniversary in style! From 3 to 31 October, anyone who joins the fun crafting community as a new demonstrator can choose either 35% OFF the cost of their Starter Kit or get 35% MORE product with their Starter Kit! What a deal!

Option 1: Get 35% OFF the normal cost of a Stampin’ Up! Starter Kit. Those who select this option will receive $235 worth of product for only $109.85!

Option 2: Get 35% MORE product with their Starter Kit. Those who select this option will receive $317.25 worth of product by spending $169!

No matter which option new demonstrators choose for their Starter Kit, both provide them with free business supplies and free shipping on their Starter Kit—not to mention all the fun that comes with being part of Stampin’ Up! 

FREE OnStage@Home Registration
It gets better! Those who sign up for a Starter Kit during this offer will also be automatically registered for FREE* to our virtual OnStage event on 11 November—a $123 value!
*Please note that free registration will not include the gift box.


Sunday, October 15, 2023

CASEing the Catty - #CTC441 Case an Annual Catalogue Project and Add a Twist


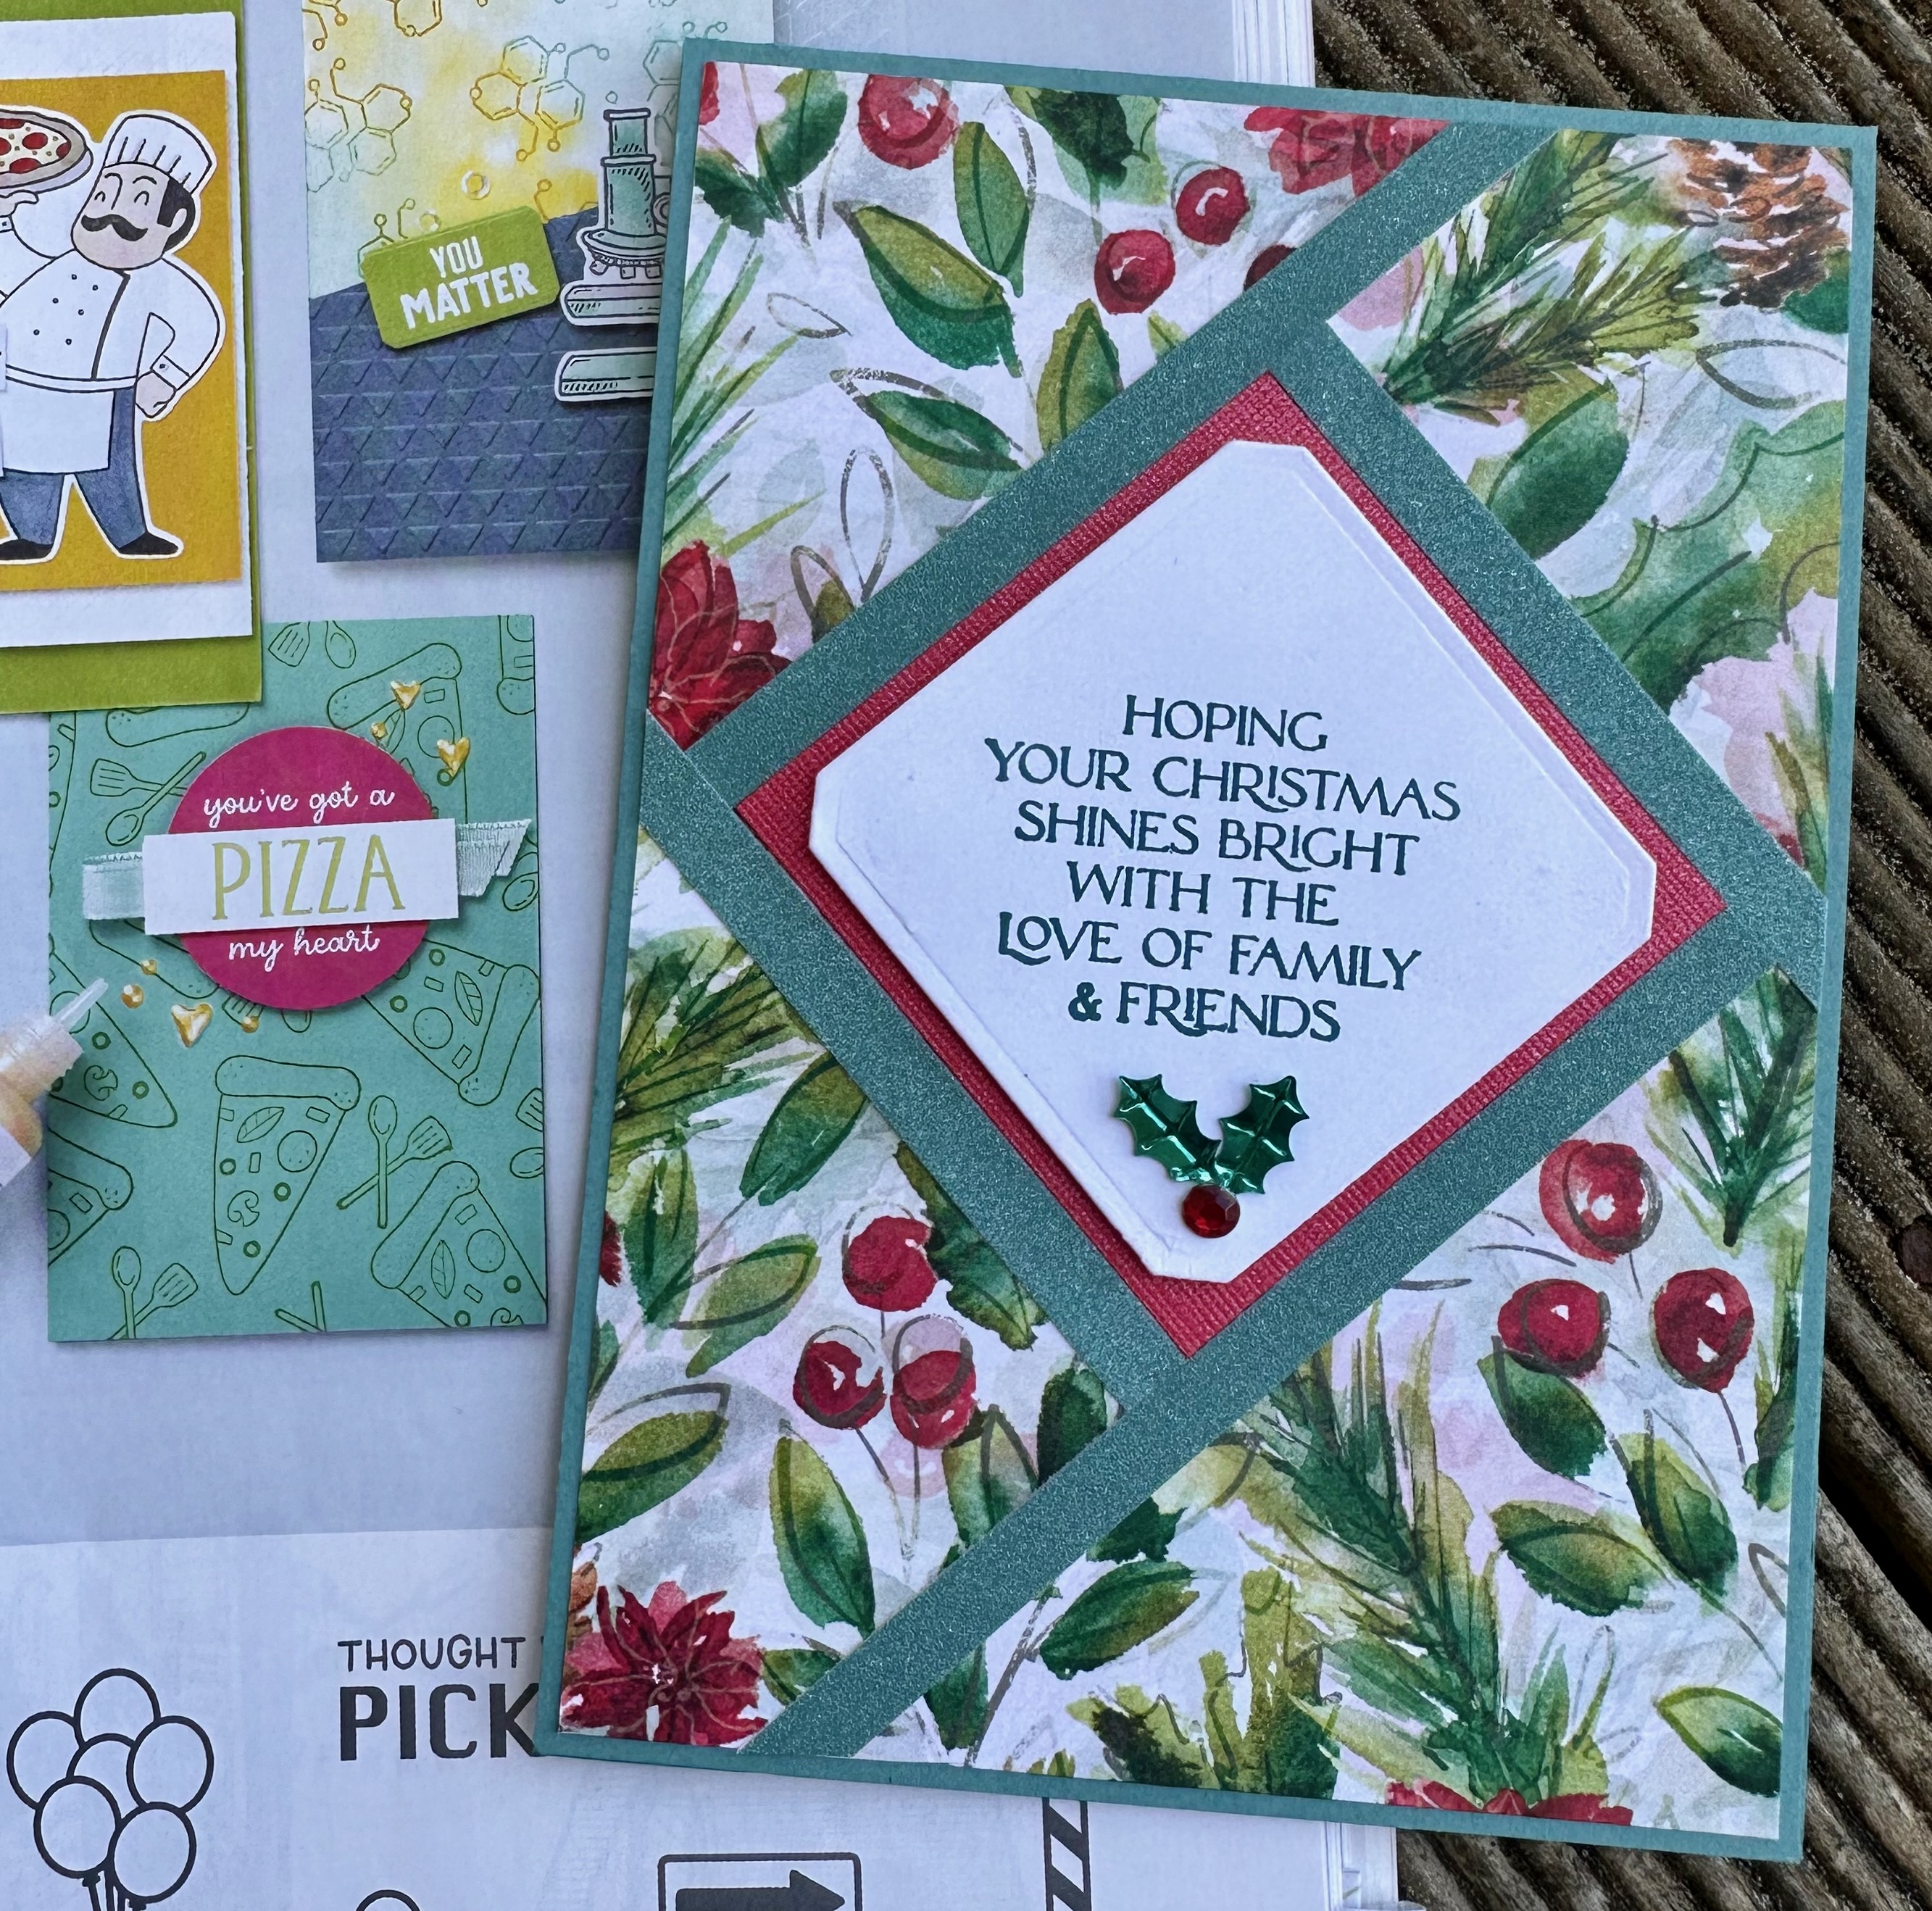
I had created this card a couple of weeks ago as a Twist to an Annual Catalogue project as the lovely Frances showed this fractured card technique at a recent afternoon creating with fellow South Australian demonstators.

Thanks for stopping by or you may have come from Judy May.

My card was inspired by the card on page 81 of the Annual Catalogue, I does not have many layers as the sentiment is really the feature of this card.


I have chosen a card base of Lost Lagoon with a piece of my favourite Joy of Christmas Designer Series Paper.  

 To make the fractured card, I cut a piece of 2 1/4" square of Sweet Sorbet Textured Speciality Paper and then add a sentiment which I cut out using the square die from the Christmas Classics Die Set which you stick down diagonally.  

I have cut 3 @ 1/4" strip off Lost Lagoon Soft Shimmer Paper and then you then surround the square on all four sides as per the card below starting with the strip in the left top corner.  I then finished off this card with some holy leaves and gems from the Loose Holly Gems & Sequins

Stamp Set:  Brightest Glow
Cardstock:  Lost Lagoon, Basic White, Sweet Sorbet Textured Speciality Paper, Lost Lagoon Soft Shimmer Paper
Ink:  Pretty Peacock
Accessories:  Cut 'n Emboss Machine, Christmas Classics Dies,  Loose Holly Gems & Sequins


Close up of the featured sentiment.


Now it's time to hop on over to Julia Quinn.